How to make a stop-motion lego animation
1. Build your scene
-
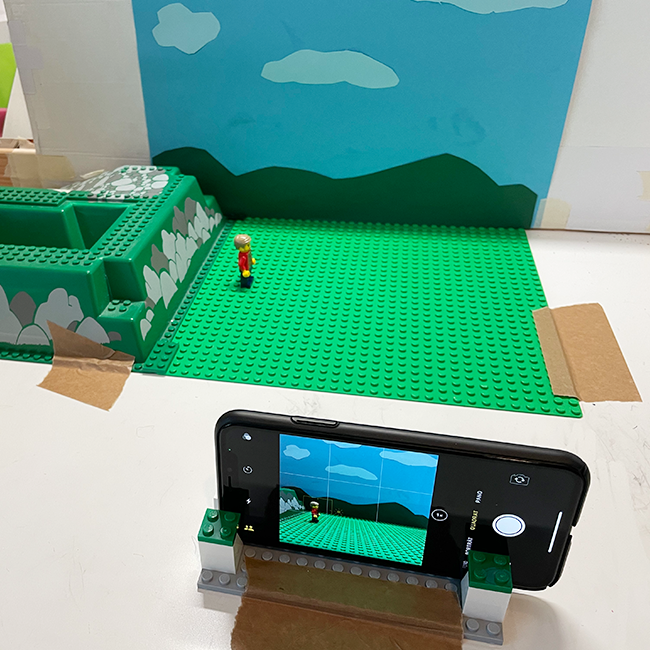
Lego plates and figures: Connect the Lego plates together using building blocks. Ideally, position them near a wall so that you can set up a background behind them. Tape the Lego plates to the table with adhesive tape to avoid any slipping pieces while animating. Then place your figures.
-
Light: Make sure that your scene is well lit and that there are no unwanted shadows. For example, use a desk lamp. In our scene, a light source is directly above the desk.
-
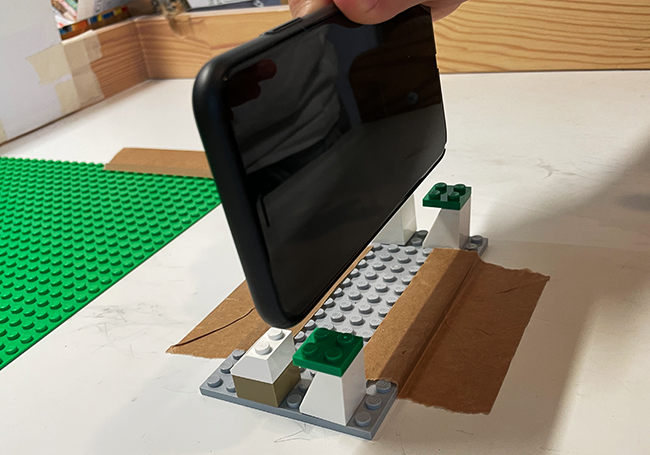
Tripod: You will need a tripod to take the photos. If you don't have a tripod, you can build one with Lego. It is important that the iPhone/iPad is clamped tightly so that it doesn’t wobble when the photo is taken. Also, press the shutter button as gently as possible. Again use adhesive tape to stick the lego tripod to the table to prevent it from moving. However, if you want to simulate a tracking shot, you can also attach little wheels under your tripod.
-
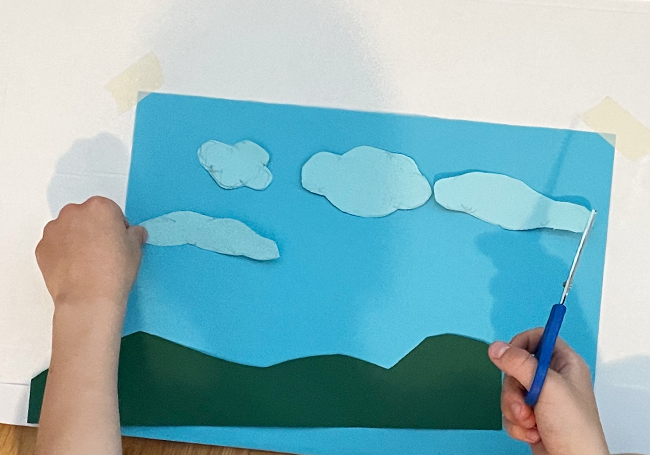
Background: Draw or make a background (e.g. with colored paper). It is best to attach the background to a piece of cardboard so that it is stable. Place the background behind your lego scene, again using adhesive tape.
2. Bring your characters to life
-
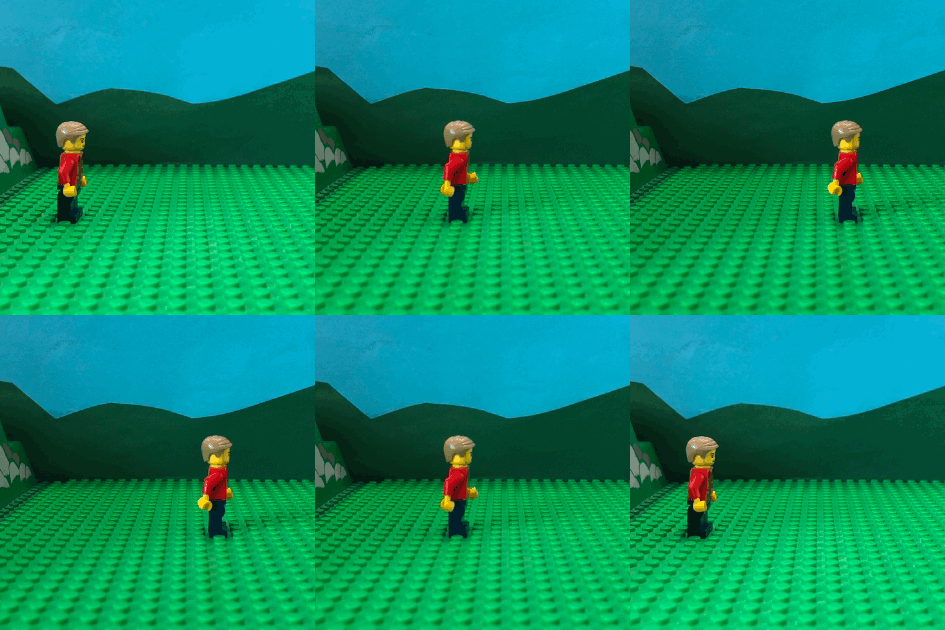
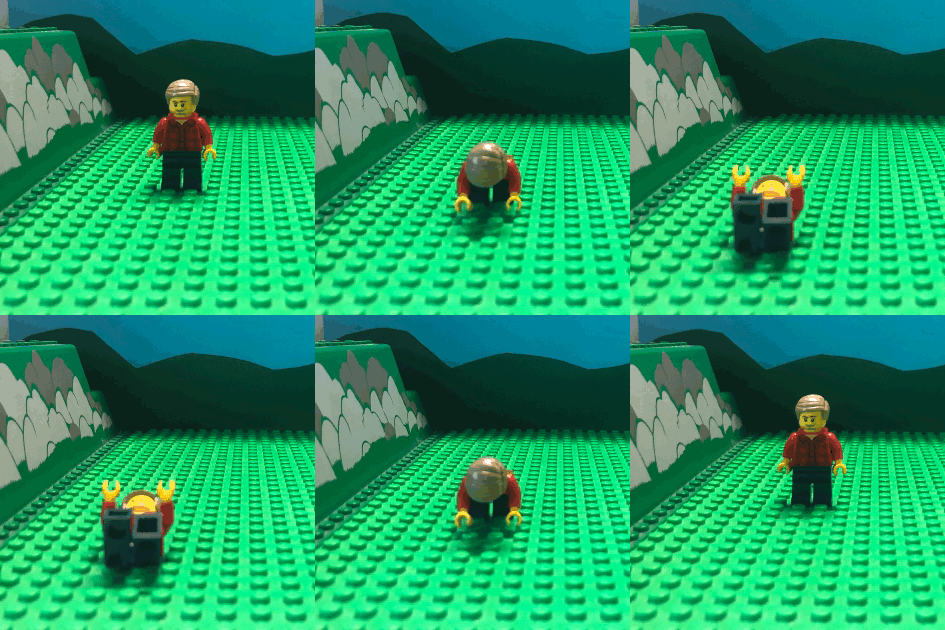
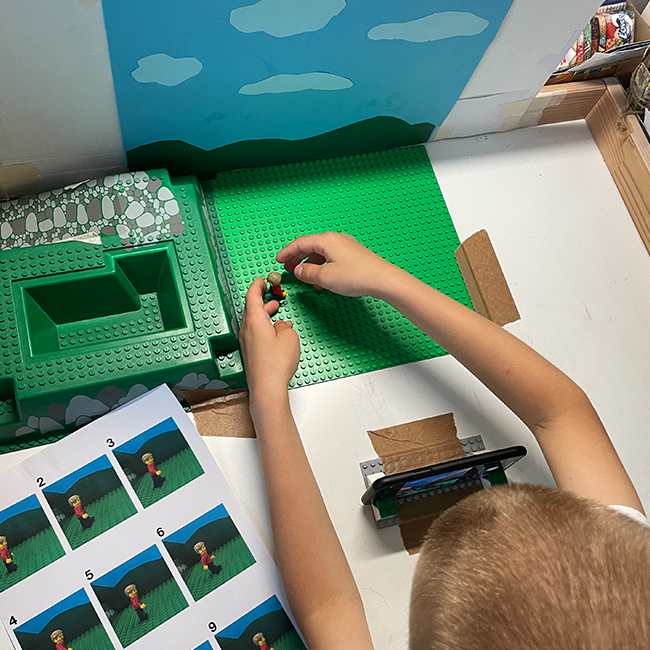
Now bring your character to life and let them move. We have created step-by-step instructions for a walking animation that you can print out. Choose a square format in the photo settings so that nothing is cut off later in FlipKit. When taking photos, make sure that there is nothing in the picture that shouldn't be there (e.g. a hand or a shadow). Make sure that the environmental conditions remain the same, especially the light. Furthermore it is important that nothing is moved except the pieces that you want to animate. Animating also works great in a team: one person takes the photos while the other moves the characters/elements step by step.
-
Walk Cycle (PDF)

3. Digital composition
-
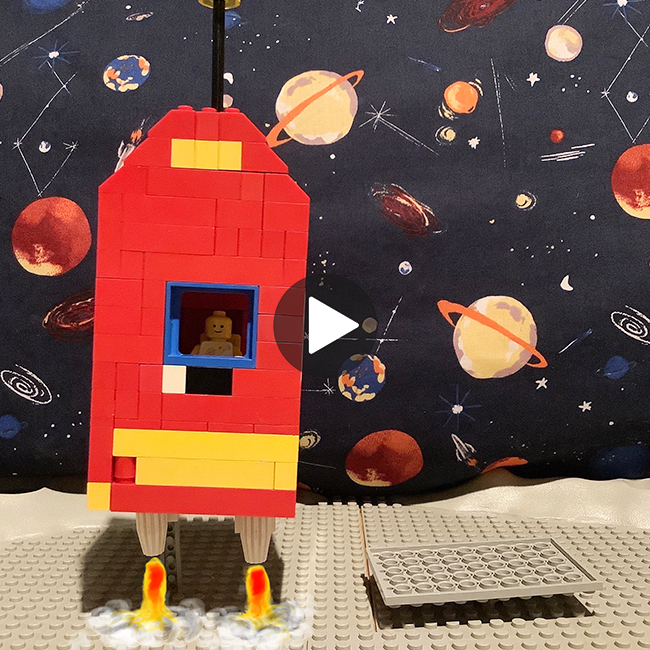
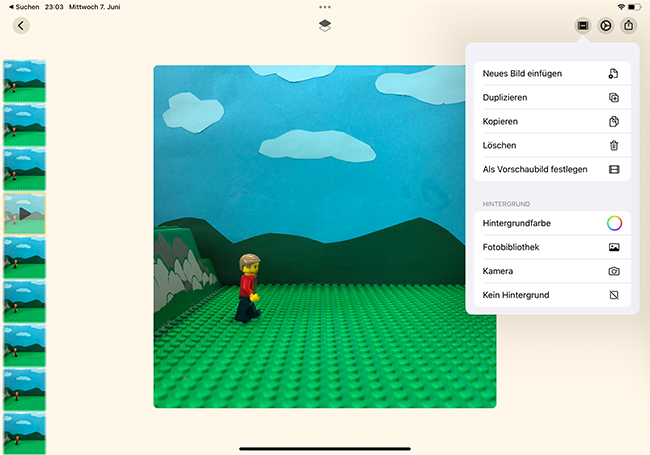
You can use FlipKit to create an animation from your photo sequence. FlipKit is an iOS app (download from the App Store) that allows you to easily create flip books and stop-motion animations. More FlipKit tutorials are here and on our YouTube Channel. Open FlipKit, create a new animation and select Photo Library from the first menu to insert your photos. Make sure you select the photos in the order you want them to be played in. The photos are inserted one after the other in the filmstrip. You can now digitally paint additions in FlipKit. In the following example, the fire of the rocket was digitally added.
4. A story
-
Great! You now know how to animate a Lego figure. Next, you could create your own story. Where is your character going? What is it up to next? A jump? A role? A dance? Are there any objects? If so, how does your character interact with the objects? (In our example, the character climbs into a rocket to fly away). While you are thinking of a story, you should also try out what is feasible with Lego before you start implementing it.


